")
Installing a bathroom starts with a clear layout, realistic budget, and scope. Align design with daily routines, plumbing positions, and UK building regulations. Plan storage, ventilation, and lighting; measure accurately and map pipework and studs. Hire professionals to coordinate plumbing, electrics, waterproofing, and tiling, protecting safety, warranties, and timelines. Expect one to three weeks from strip-out to finish. Choose durable fixtures and slip-resistant tiles that suit space and style. The next sections explain steps, choices, and tips to avoid costly mistakes while guiding you towards creating the bathroom of your dreams.
Key Takeaways
- Plan a layout around existing plumbing, ventilation, and electrical needs, ensuring it supports daily routines and meets UK building regulations.
- Set a realistic budget including labour, materials, fixtures, permits, and a 10–15% contingency for surprises.
- Hire qualified professionals to manage plumbing, wiring, waterproofing, and inspections, protecting safety, warranties, and durable performance.
- Choose durable, moisture-resistant fixtures and tiles; measure clearances precisely and coordinate finishes for cohesive style and function.
- Schedule the installation phases—strip-out, first fix, waterproofing, tiling—ensuring timely deliveries and proper protection to make the entire project durable and efficient.
Introduction to Installing a New Bathroom
A new bathroom can elevate daily comfort, boost home value, and refresh the overall look of a property.
Getting it installed correctly ensures watertight performance, safe electrics, and lasting durability.
Professional installation by experienced bathroom remodelers reduces costly errors, meets building codes, and protects warranties. Using quality pipe fittings for bathrooms ensures reliable water flow, leak-free connections, and long-term performance.
Why a new bathroom can transform your home
Though often overlooked, a new bathroom can reshape how a home feels, functions, and is valued. A well-planned bathroom remodel can add value, elevate comfort, and spark design inspiration throughout the property. Clean lines, smart storage, and durable waterproof finishes support daily routines. Thoughtful design improves air quality and longevity. A contemporary bathroom also streamlines maintenance, saving time.
| Benefit | What Changes | Outcome |
|---|---|---|
| Space use | Better layout | Easier flow |
| Aesthetics | Modern materials | Fresh look |
| Durability | Waterproof systems | Fewer repairs |
| Comfort | Ventilation upgrades | Healthier air |
| Practicality | Thoughtful lighting | Safer tasks |
Engaging a professional plumber ensures reliable performance.
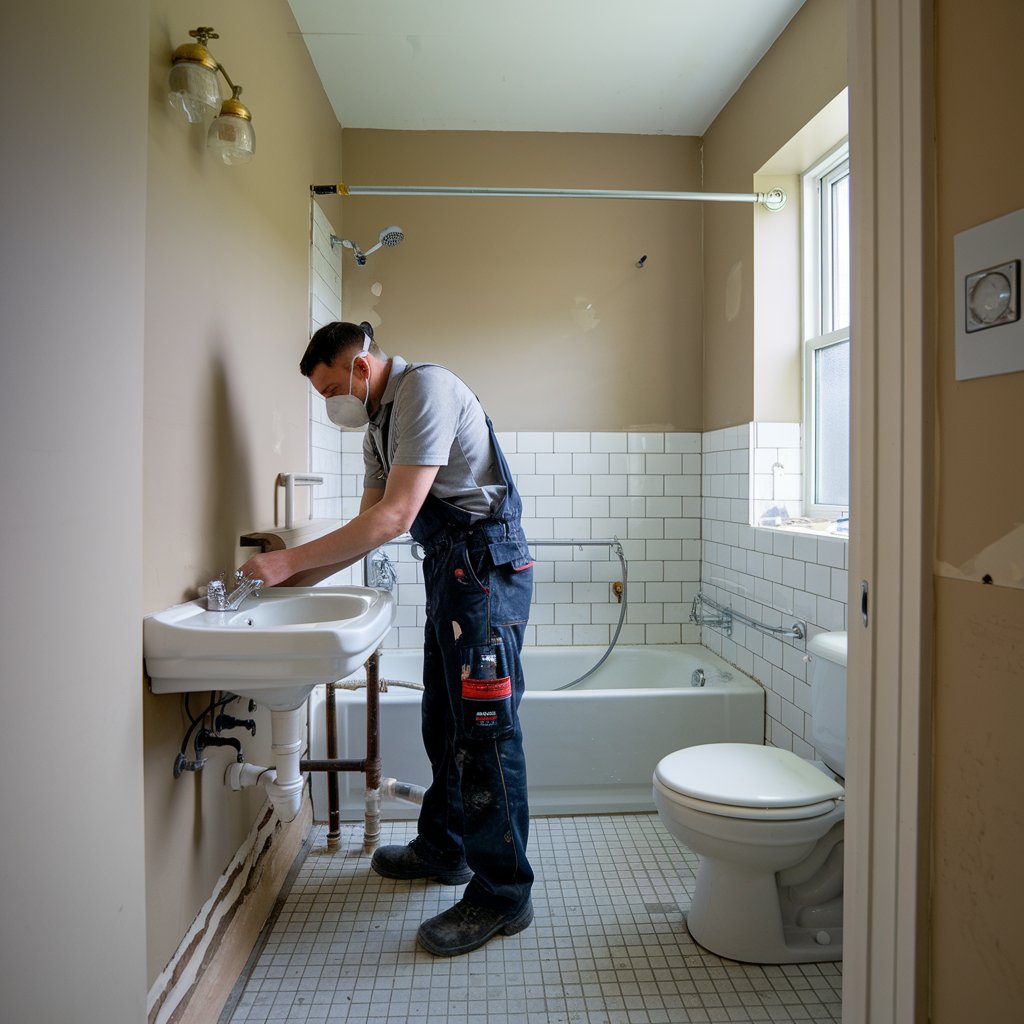
The importance of professional bathroom installation
Even with a clear vision and quality materials, bathroom projects depend on expert execution to perform and last. A professional approach to bathroom installation safeguards budgets, timelines, and future maintenance.
Skilled trades coordinate precise plumbing, wiring, and ventilation while meeting building regulations and manufacturer requirements. Proper workmanship prevents leaks, shocks, and mould, protecting safety and resale value.
- A licensed plumber ensures correct pipe sizing, pressure, and waterproofing.
- A qualified electrician delivers compliant circuits, RCD protection, and lighting.
- Documentation secures warranty coverage and validates insurance.
- Project management aligns trades, inspections, and finishes, avoiding costly rework and ensuring the bathroom installation performs reliably.
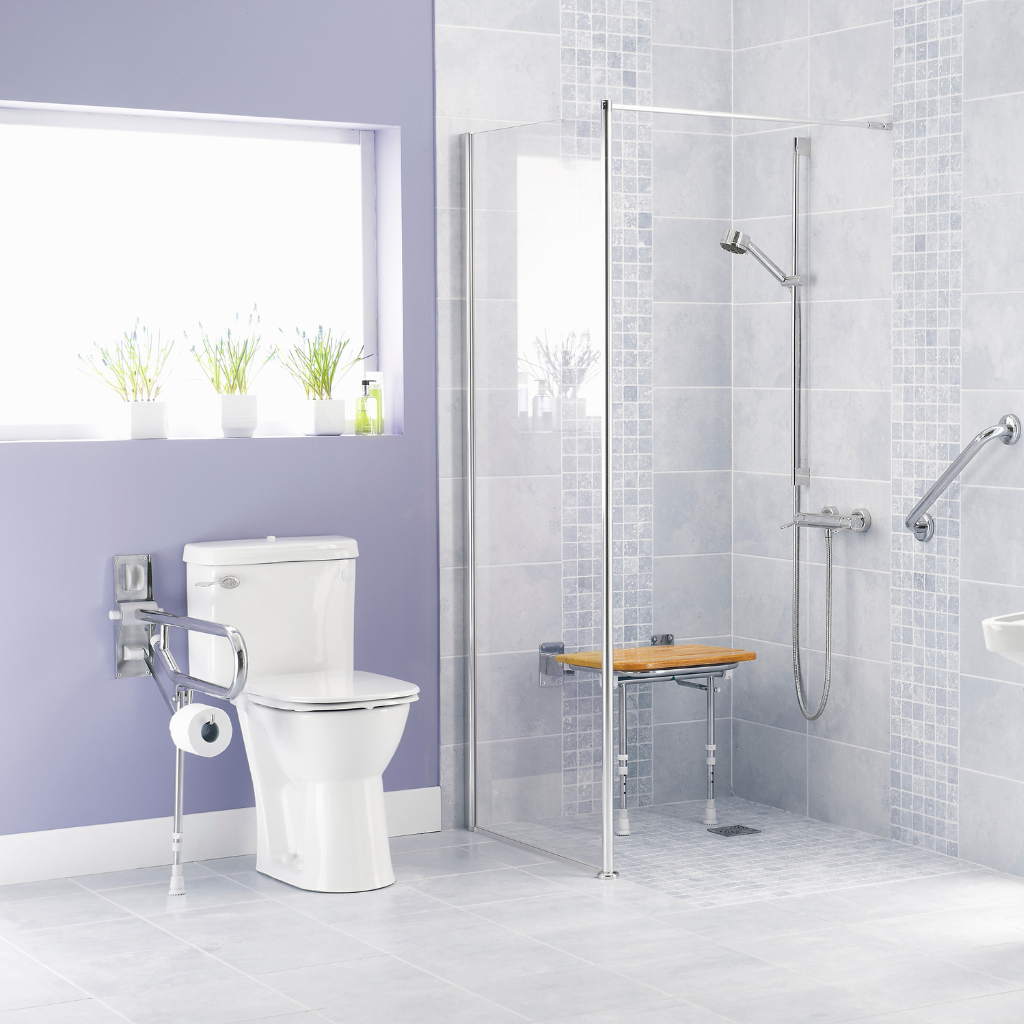
- Professional installers can advise on wet room design solutions for open or fully waterproofed shower areas.
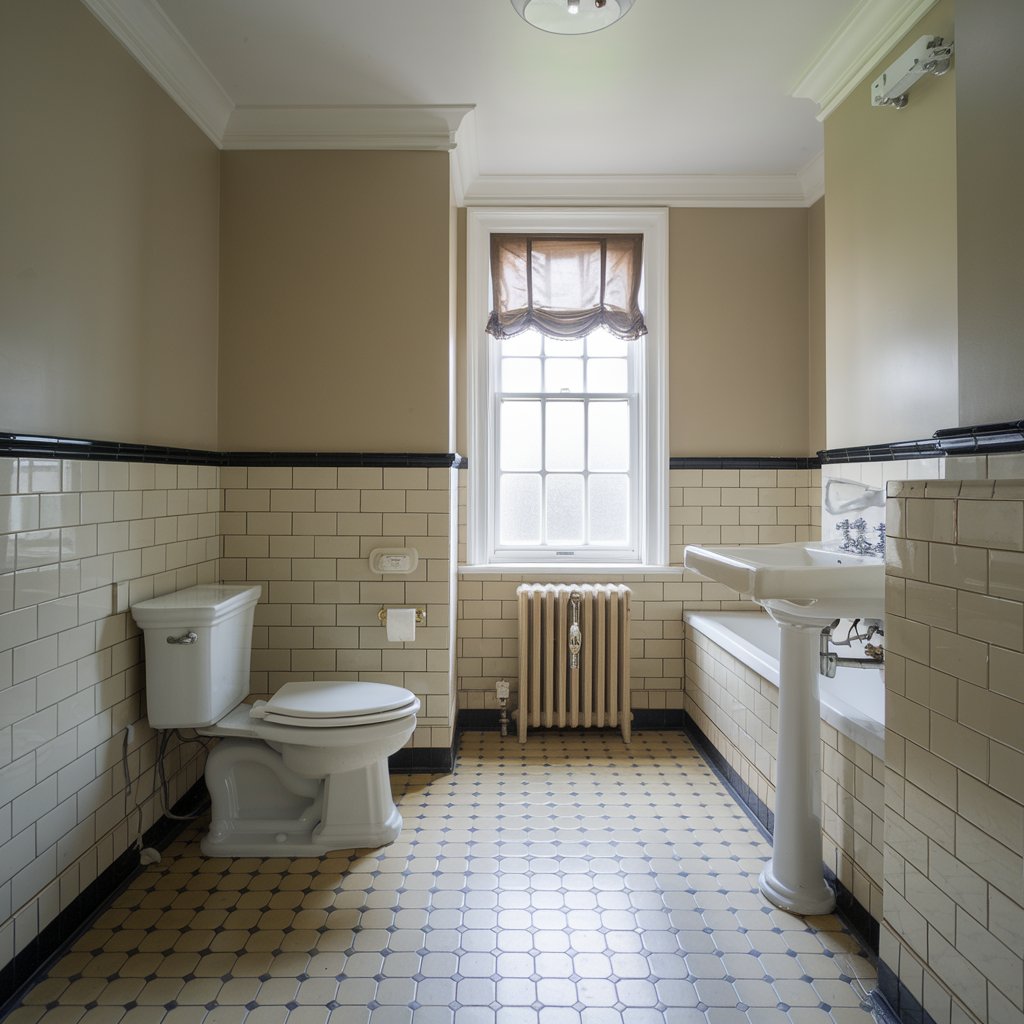
Important Factors to Consider Before Installing a New Bathroom
Before any fixtures are chosen, a clear layout should match daily routines, space constraints, and plumbing positions.
A realistic budget must account for labour, materials, contingencies, and potential upgrades.
Finally, compliance with UK building regulations—covering drainage, plumbing, electrics, and waterproofing—is essential to avoid costly setbacks.
Planning your bathroom layout to suit your needs
While excitement can drive quick decisions, a smart bathroom begins with a clear plan anchored to real needs. A practical bathroom layout aligns circulation, spacing, and services with daily routines.
Start by mapping the soil pipe and water supply; these guide where a toilet, shower enclosure, and bathtub can sit without costly rerouting. Prioritise safety clearances and storage near each fixture.
- Define primary users and accessibility needs.
- Respect the minimum spacing around the toilet, shower enclosure, and bathtub.
- Zone wet and dry areas to limit splashes and slips
- Align fixtures with the soil pipe and water supply to simplify installation.
How to set a realistic budget for bathroom renovations
With the layout mapped to real needs, attention turns to money: a realistic budget anchors design choices to what’s financially workable.
Start by defining scope—minor refresh, mid-range upgrade, or full remodel. Itemise expected spend: demolition, plumbing, electrics, tiling, and new fixtures.
Factor labour costs, typically the largest line, and allow a 10–15% contingency. Assess the complexity of the installation; if you need to relocate pipes, create a wet room, or add bespoke joinery, expect higher costs.
Compare mid-range versus high-end materials to balance durability and style. Decide where to hire a professional and where DIY is safe.
Obtain three written quotes and align timelines with cash flow.
Understanding UK building regulations for bathroom installations
Although design choices are tempting to tackle first, UK building regulations set the non‑negotiable baseline for any bathroom installation.
Compliance guides the bathroom installation process, from layout to safety. Part P governs electrical work near water; Part F handles ventilation; Parts G and H address water supply and waste pipe routing; and Part L touches heating systems efficiency.
Surfaces and substrates must be moisture-resistant or water-resistant where splash and steam occur.
- Confirm RCD protection and correct zoning for electrics.
- Provide continuous extraction with suitable ducting.
- Size and fall the waste pipework to prevent backflow.
- Specify efficient, safely isolated heating systems.
The Bathroom Installation Process: What to Expect
This section describes how long a standard bathroom installation usually takes, varying from a few days to a couple of weeks based on the extent and difficulty of the work.
It walks through the step-by-step sequence: strip-out, first-fix pipework and electrics, waterproofing, tiling, then fitting and finishing fixtures.
It also highlights why proper sealing and precise tiling are critical for durability and a clean finish.
How long does it take to install a new bathroom?
How long does a new bathroom take to install? For most homes, a new bathroom installation spans one to three weeks, depending on the complexity.
Homeowners ask, “how much time does it take to install a new bathroom?” Timelines hinge on trades coordination, material lead times, and site conditions. Simple refreshes finish faster; full redesigns with layout changes take longer.
- Bath installation only, minimal changes: about 3–5 days
- Adding new pipework and electrics: typically 7–10 days
- Including plaster repairs, waterproofing, and tiling: 10–15 days
- Older properties or structural tweaks: expect 2–3 weeks
Clear scope, timely deliveries, and decisive choices keep schedules on track.
Step-by-step breakdown: From pipework to fitting fixtures
With timelines in mind, the installation journey follows a clear sequence that keeps work efficient and tidy.
First, the room is cleared, surfaces assessed, and services isolated. Next, pipework is set out, sized, and tested, ensuring everything will plumb correctly.
The bath, shower tray, and WC frame are then positioned to verify levels and access. After the first fix, walls and floors are prepared, ready to tile later. Cabinets and ventilation routes are marked.
Second fix follows: secure the bath, fit the basin, taps, and WC, connect wastes, and test.
Finally, seal joints and tidy edges, complete minor tile trims, apply grout, and finish fitting.
The role of waterproofing and tiling in bathroom installations
Two fundamentals underpin a durable bathroom: waterproofing and tiling. Together, they prevent water damage, resist mould, and protect the floor and walls during any renovation or when installing new fixtures.
Proper sequencing ensures lasting and easy maintenance, while finishes enhance safety and style.
- Specify membranes and sealants for showers, baths, and floors to ensure continuous moisture resistance.
- Use backer boards, primers, and sealants with additives to limit mould and moisture ingress.
- Select slip-resistant tiles and correct trowel sizes for reliable tiling adhesion.
- Seek expert advice on gradients, expansion joints, and drainage to safeguard warranties and performance.
Choosing the Right Bathroom Products and Fixtures
Selecting the right bathtub, taps, and complementary fixtures starts with matching size, style, and water efficiency to the room’s layout and usage.
Quality products matter for durability, ease of maintenance, and lasting value.
For tiles, they should compare porcelain vs. ceramic, plan slip resistance and grout choice, and follow proper substrate prep and spacing for a clean, lasting install.
How to select the best bathtub, bath, and other fixtures
Where to begin when choosing a bathtub and fixtures? Start with the plan for designing a bathroom, matching a new bathroom suite to space, needs, and style.
In a small bathroom, compact tubs and wall-mounted taps save floor area; a large bathroom can host a statement bathtub and coordinated fixtures. Think practicality first, then aesthetics, and confirm compatibility before installing.
- Measure meticulously: doorways, clearances, and plumbing positions.
- Prioritise comfort: test bathtub depth, backrest angles, and entry height.
- Coordinate finishes: taps, shower valves, and accessories in one line.
- Balance water use: choose efficient showerheads and thermostatic mixers.
The importance of quality bathroom products for durability
Although style draws the eye, lasting satisfaction depends on quality: durable bathroom products resist wear, moisture, and daily use, reducing failures and replacement costs.
Selecting quality bathroom products supports durability, smooth installation, and easier maintenance. Solid brass taps, robust frames, and corrosion-resistant fixings outperform budget options.
For a new bathroom in the UK, reputable retailers offer warranties and compliance with standards. A skilled bathroom fitter ensures correct installation, protecting seals, valves, and finishes.
When planning to renovate or undertake a full bathroom renovation, prioritising tested components prevents leaks, mould, and premature replacement. Better materials cost more initially, but save significantly over time.
Considerations for bathroom tiles: Types and installation tips
While design trends evolve, the fundamentals of bathroom tiling stay practical: choose materials suited to moisture, traffic, and cleaning demands, then plan installation to protect against water ingress.
A homeowner comparing new work to a remodel should weigh tile types and steps involved. Porcelain and ceramic tiles excel for durability; natural stone adds texture but may require new sealers.
Here’s everything you need to know, with crisp installation tips.
- Choose slip-resistant finishes for floors; glossy suits walls.
- Use waterproof membranes and slope wet areas.
- Back-butter large-format tiles; maintain grout joints.
- Seal grout, plan expansion joints, and verify substrate flatness.
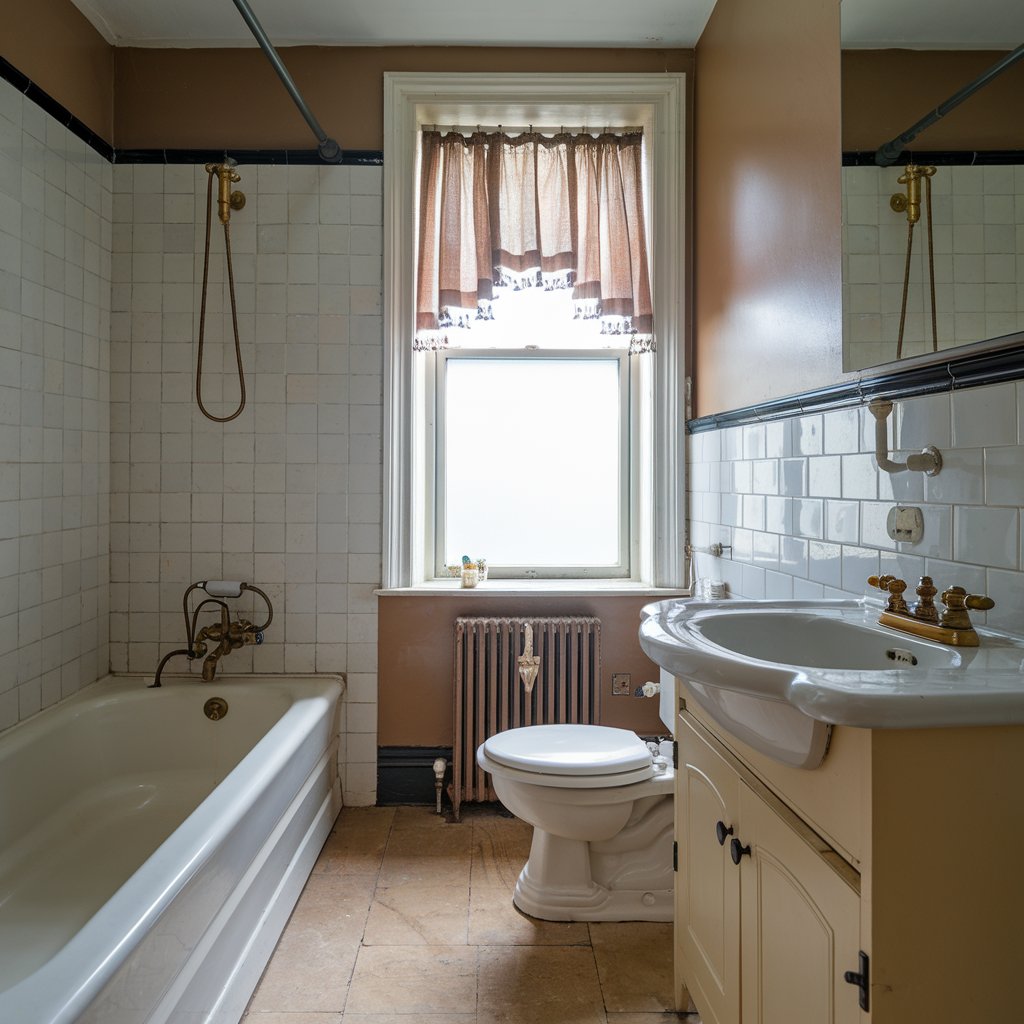
Steps to prepare for your bathroom renovation project
Before any tile is lifted or fixtures are ordered, a clear plan sets the tone for a smooth bathroom renovation. When renovating a bathroom, the steps to prepare start with scope, budget, and timeline. They clarify what you’ll need, what’s DIY, and when a tradesperson is essential, especially for plumbing and wiring.
Estimating the cost of a bathroom and how long it may take to install fittings reduces surprises.
- Define layout, storage, and lighting, and other key areas to prioritise functionality.
- Measure accurately; map pipework, drainage, and stud locations
- Set budget allowances for fixtures, labour, and contingencies
- Sequence tasks: demolition, rough-ins, waterproofing, tiling, fit-off
Why professional installation ensures the best results
Even a well-planned renovation benefits from expert hands, because professional installers bring precision, code compliance, and accountability to every stage.
Professional installation protects warranties, prevents leaks, and ensures safe electrics—critical when ceiling lights or a spotlight are added near wet zones, if you’re installing a new bathtub, correcting falls, sealing, and load bearing matters.
A licensed team can remove an old suite cleanly, coordinate trades, and schedule inspections. Homeowners need to hire specialists, not just a labourer, when the stakes are high.
To hire a bathroom expert, confirm certifications, insurance, and references. The result: efficient timelines, durable finishes, and peace of mind.
Conclusion: Get Started with Your New Bathroom Installation
With the fixtures chosen, the next move is to outline clear steps: set a budget, confirm measurements, secure permits, and schedule deliveries.
A tidy workspace, a staged timeline, and protective prep help the renovation run smoothly.
For the best results, professional installation brings code compliance, precise workmanship, and warranties that protect the investment.

")