")
Bathroom pipe fittings must match function, size, and material to ensure safe, leak-free plumbing. Common materials include copper, brass, PVC, and PEX. Key fittings are elbows, tees, reducers, caps, and sweeps. Valves (ball, gate, globe, angle stop) allow localised shutoff; clip fittings secure runs and reduce noise. Choose fittings based on pressure, temperature, layout, and code. Dry-fit, cut square, deburr, and test for leaks. Proper selection improves flow, durability, and maintenance, with practical tips and scenarios ahead.
Key Takeaways
- Choose fittings by brand, material, and size for reliable, leak-free plumbing under expected temperature and pressure.
- Common materials: copper/brass for durability; PVC for drains; PEX for flexible supply lines; avoid mixing incompatible metals.
- Key fitting types: elbows, tees, reducers, caps, and sweeps; match geometry to maintain flow and meet code.
- Use valve fittings (ball, gate, globe, angle stops) near fixtures for isolation and easy maintenance; orient and label for access.
- Secure runs with clip fittings; space properly and use rubber-lined clips to reduce vibration, noise, and sagging.
Introduction
Selecting the right pipe fittings sets the foundation for reliable, leak-free plumbing.
This section outlines why fit, durability, and compatibility matter for long-term performance.
It also introduces common materials—such as copper, brass, PVC, and PEX—and when each is typically used.
Importance of choosing the right pipe fitting for your bathroom plumbing
While often overlooked behind walls and under sinks, the right pipe fittings are essential to a system’s reliability, safety, and efficiency. Selecting an appropriate pipe fitting ensures fixtures operate smoothly and prevents problems.
In bathroom plumbing, matching types of pipe fittings to purpose, size, and material helps maintain a dependable seal and steady water flow. Components must be compatible with fixtures, supply lines, and pressure demands to avoid leaks and premature wear.
Using certified fittings recommended by local bathroom experts ensures longevity and proper function during a new bathroom installation.
- Choose fittings by size to maintain correct pressure and flow.
- Confirm a reliable seal to prevent moisture damage and mould.
- Ensure materials are compatible to avoid corrosion and failures.
Overview of common materials used in bathroom pipe fittings (copper, brass, etc.)
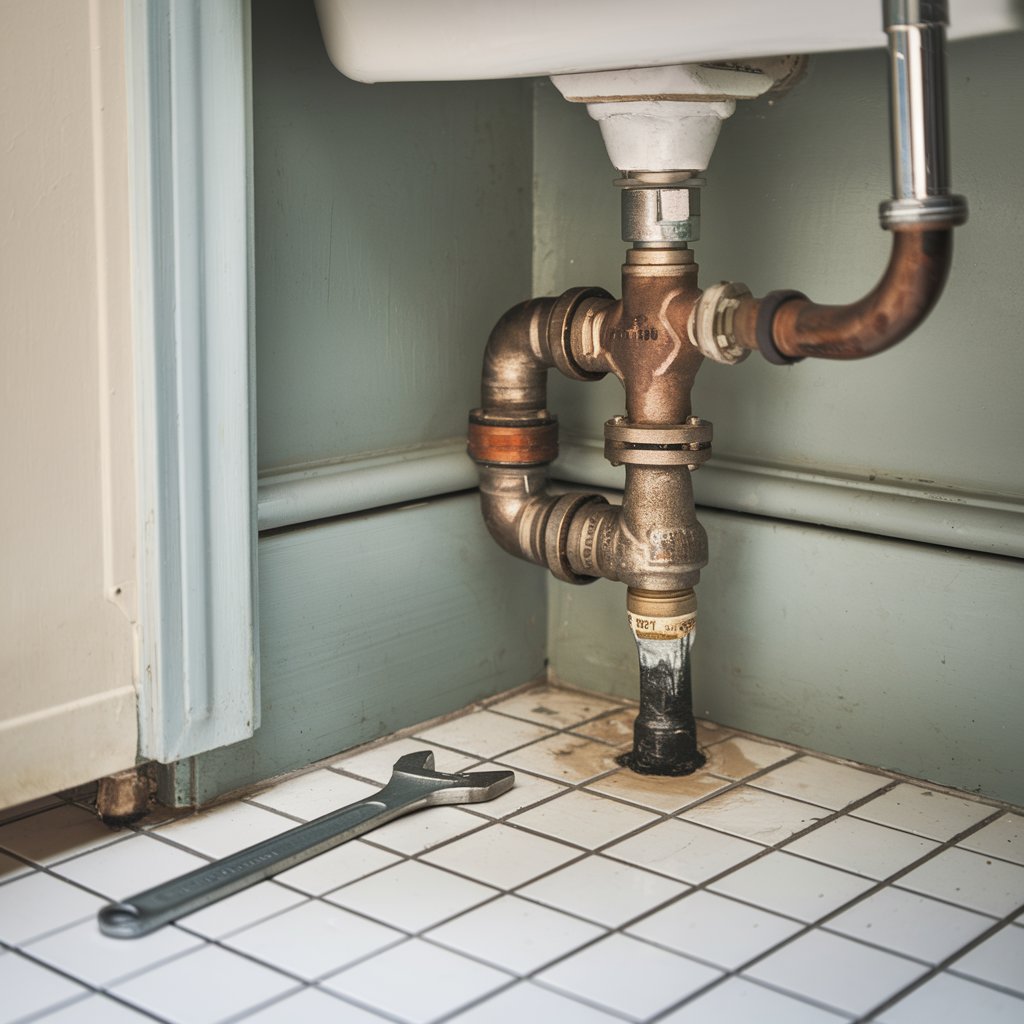
Materials set performance expectations for bathroom pipe fittings. In most homes, copper and brass dominate because they balance durability, corrosion resistance, and ease of installation.
Copper suits hot and cold lines, sells cleanly, and holds shape across an elbow, coupling, or reducer. Brass excels in threaded parts, valves, and fixtures, resisting dezincification and hard water. Both materials accept compression fittings for quick, serviceable joints.
Brass valve bodies pair well with copper tubing in a mixed plumbing system, minimising galvanic issues. While alternatives exist, these metals offer predictable sealing, pressure tolerance, and long service life, making upkeep and upgrades simpler.
Types of Pipe Fittings
This section introduces the main types of bathroom pipe fittings and how each guides flow.
It explains elbow fittings for bends, tee fittings for splitting lines, and reducers for connecting different pipe sizes.
It also notes cap fittings for sealing ends and long-radius fittings for smooth, low-turbulence turns.
Elbow Fittings: Bends in pipework
Although pipe runs often seem straight on paper, real bathrooms rely on elbow fittings to navigate turns and tight spaces without compromising flow. These components create a controlled bend, allowing a pipe to change the direction cleanly while maintaining smooth flow.
Common elbow fittings include 90-degree and 45-degree angles, chosen to connect fixtures with minimal turbulence and pressure loss.
- 90-degree elbows: sharp turns where space is tight; expect higher friction and potential noise if oversized flow meets an abrupt change.
- 45-degree elbows: gentler redirection; better for drainage and reduced resistance.
- Long-radius elbows: wider curve; improve flow, ideal where room permits.
Tee Fittings: Splitting pipes
Many plumbing layouts rely on tee fittings to branch a single line into two or to join flows from separate runs. A tee creates a T-shaped junction to split the flow of water or combine it efficiently.
Installers select straight, sanitary, or wye-style tees to suit plumbing needs and fixture layout. Tees can connect pipes of different directions and help route supplies to sinks, showers, or toilets.
Some tees are used to switch the flow between two pipes with valves upstream. Options exist for different pipe sizes, materials, and connection methods, including soldered copper, solvent-weld PVC, press, and threaded metal.
Proper alignment prevents turbulence.
Reducer Fittings: Reducing pipe sizes
After branching lines with tees, reducers step in to match differing pipe diameters so pressure and flow stay controlled. In bathrooms, reducer fittings connect pipes together when fixtures require a different size. They are used to reduce turbulence, maintain velocity, and ensure reliable performance during setup.
1) Types: concentric reducers align centres for straight runs; eccentric reducers prevent air pockets on horizontal drains; threaded or solvent-weld versions suit metal or plastic.
2) Sizing: select by inlet and outlet diameter, pressure rating, and compatibility with supply or drain lines.
3) Practice: support transitions, follow code, test for leaks, and reduce strain with proper anchoring.
Cap Fittings: Closing pipe ends
Endcaps bring a clean, watertight finish to open pipe ends, sealing lines temporarily or permanently in plumbing systems.
A cap is a simple fitting designed for closing pipe ends during installation, testing, or repair. These pipe fittings are used to terminate an unused branch, protect a valve or fixture connection, or separate a section for servicing.
Materials include PVC, CPVC, copper, brass, and stainless steel, chosen to match pipe and pressure. Options range from solvent-welded and soldered caps to threaded and push-fit styles.
Proper cleaning, alignment, and torque prevent leaks. Pressure testing verifies seals. Removal or replacement restores future expansion flexibility.
Sweep Fittings: Smooth bends
Gentle-radius sweep fittings guide water through smooth bends, reducing turbulence, friction losses, and noise in bathroom plumbing. Their extended curve and smooth shape help drains carry waste efficiently, especially where long turning paths are needed.
In practice, these fittings are used to connect lines that must maintain flow velocity and are used to join fixtures to main stacks without sharp elbows that can snag debris or gurgle.
1) Typical bend options include long-turn 90s, 45s, and combo wyes, selected to match plumb code and drainage layout.
2) Benefits: better scouring, fewer clogs, quieter operation.
3) Use cases: vanity drain offsets, shower relocations, trap-arm alignment.
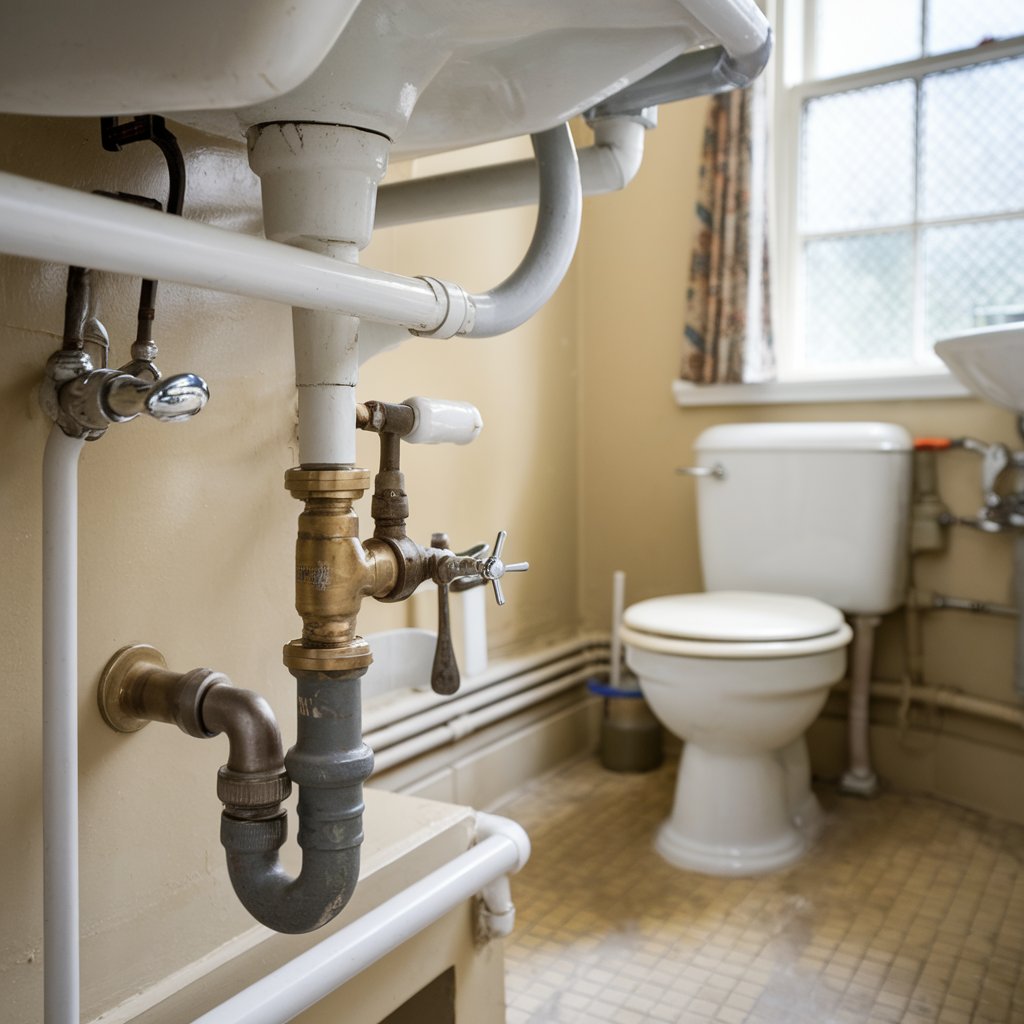
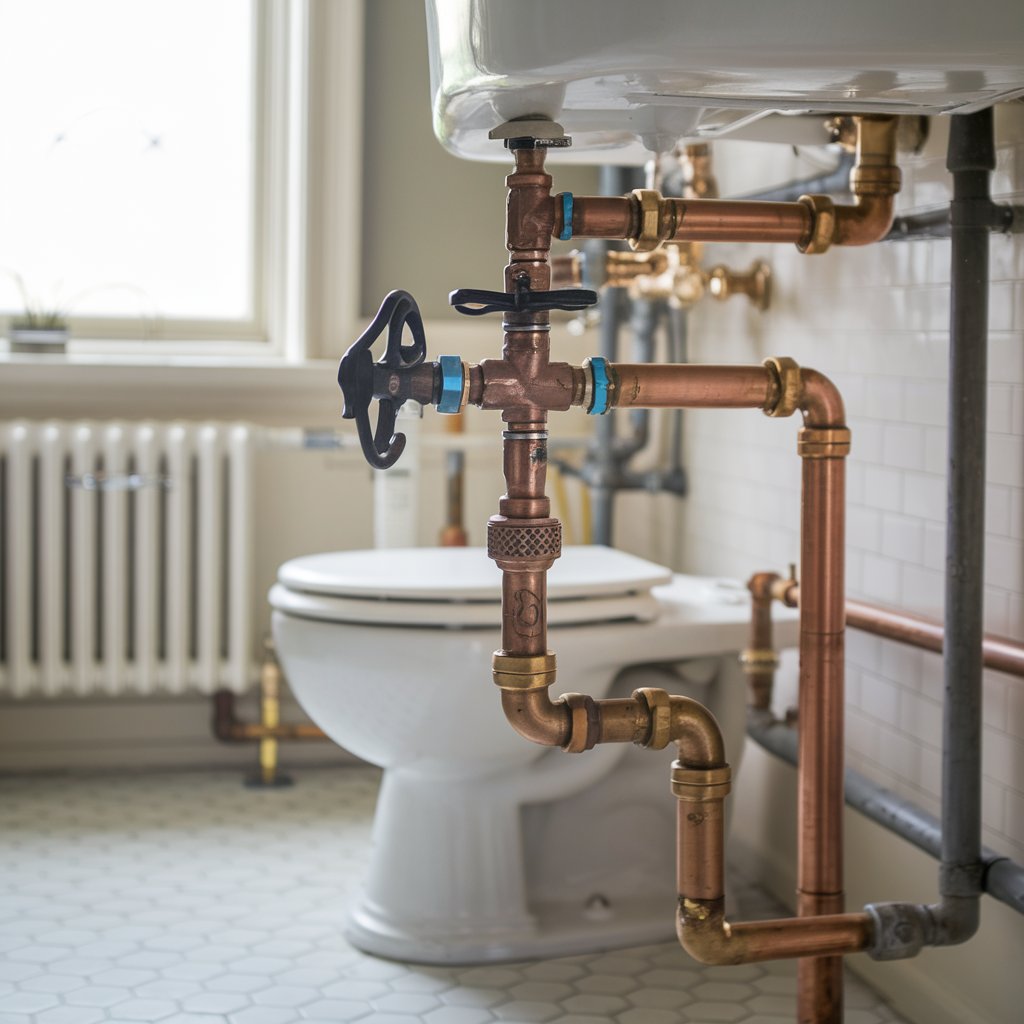
Valve Fittings: Isolating plumbing sections
Gatekeepers of flow, valve fittings let plumbers separate fixtures of bathroom piping for service, balance, and protection.
In this context, valve fittings: isolating plumbing sections means placing shutoffs where valves are used to stop or throttle the water supply to a fixture or branch. Common types include ball, gate, globe, and angle stop valves, chosen by application, access, and control needs.
A valve near each toilet, basin, and shower lets a single fixture be separated without disrupting the whole bathroom. Properly oriented handles, clear labelling, and accessible locations keep service secure.
Durable bodies and reliable seals maintain isolation under pressure.
Clip Fittings: Securing pipes
Many small but vital clip fittings keep bathroom pipes anchored, aligned, and quiet. A good clip and fit prevent vibration, sag, and strain on joints that can trigger a leak.
Installers position clips at recommended intervals, then secure and tighten screws into studs or masonry anchors. Pipe cutters provide clean edges so pipes seat true within the clip. Rubber-lined variants cushion noise; UV‑resistant versions suit exposed runs. Clips also stabilise a hose or trap arm to fix minor movement.
1) Choose the proper size and material to match the pipe.
2) Space clips per code to support weight.
3) Recheck, tighten, and replace worn clips.
Choosing the Right Fitting
Selecting the right fitting starts with matching the material, size, and type to the bathroom’s water supply and fixture needs.
A clear checklist—pipe material compatibility, pressure rating, thread or slip connection, and fixture requirements—helps narrow the best option quickly.
At the same time, choosing the right fixtures and fittings for modern bathrooms ensures that taps, showers, and basins complement the plumbing system while achieving a sleek, contemporary look.
Simple habits like measuring twice, buying a small assortment of common adapters, and dry‑fitting before sealing reduce waste during projects.
Factors: material, size, and type
Material, size, and type determine whether a bathroom pipe fitting will perform reliably and meet code.
Material affects corrosion resistance, durability, and compatibility with different types of pipe. Size ensures proper flow, pressure, and leak-free joints. Type aligns geometry and function with various types of pipe fittings used in drains, vents, and supply lines, making choosing the right option essential.
1) Material: Match copper, PVC, CPVC, PEX, or brass to water temperature, chemistry, and code.
2) Size: Verify nominal size, inner diameter, and thread or socket standard.
3) Type: Select the right type—elbows, tees, couplings, adapters, traps—compatible with pipe material.
How to choose the right type for your bathroom
With material, size, and type in mind, the next step is matching specific fittings to the bathroom’s layout and fixtures. A buyer should map each outlet, then select types that fit the system’s pressure, venting, and space limits. Compare a range of elbows, tees, traps, and couplers by function and code compliance. Check compatibility across two different materials and confirm the brand’s warranty and availability. Short-radius bends suit tight vanities; long sweeps aid drainage. Prioritise quiet flow and easy maintenance. Choose options that meet your needs today and future upgrades.
| Scenario | Recommended fitting |
|---|---|
| Compact vanity | Short-radius elbow |
| Freestanding tub | Full-port valve |
| Multi-sink line | Double sanitary tee |
Tips to reduce waste during installation
Start by measuring twice and dry-fitting every run to avoid cutting errors and surplus parts. A simple layout sketch helps match supply lines and different types of fittings so lengths are equal and cuts are precise.
Selecting kits with everything you need, including each nut and seal, is crucial to prevent extra trips and discarded pieces.
1) Label pipes and fittings before assembly; this short step streamlines maintenance and reduces mix-ups.
2) Cut square, deburr edges, and use only the necessary sealant to avoid rework and waste.
3) Return unopened components promptly and store spares properly for future repairs.
Installation Tips
This section outlines a clear, step-by-step guide for fitting installation, from measuring and cutting to sealing and testing.
It also explains how to isolate specific plumbing sections with shutoff valves to work safely and minimise water disruption.
Readers can expect simple checks and common pitfalls to watch for at each stage.
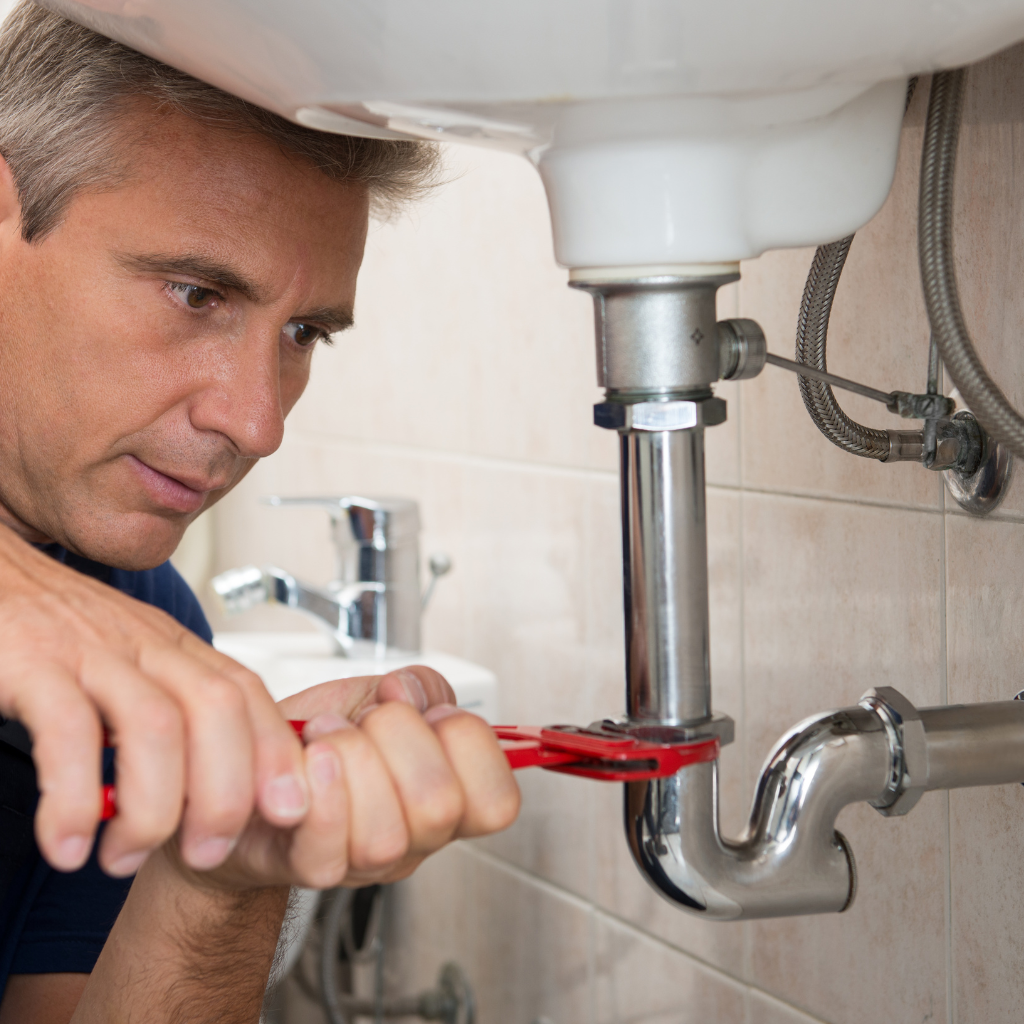
Step-by-step fitting guide
A clear, methodical approach makes installing bathroom pipe fittings manageable for most DIYers. The process begins with planning, continues with precise cutting and dry-fitting, and ends with secure connections and a clean test. Safety, correct tools, and adherence to manufacturer specs guide each step.
- Measure and mark runs, confirm pipe type and fitting compatibility, and gather tools, sealants, and supports.
- Cut squarely, deburr edges, and dry-fit to verify alignment and slope; adjust clamps or brackets to prevent strain.
- Apply primer and cement (for PVC/CPVC) or flux and solder (for copper), or tighten compression joints evenly; support, wipe residue, and test for tight, drip-free joints.
How to isolate plumbing sections with valves
With the fittings assembled and tested, attention turns to adding valves so future repairs don’t require shutting off the whole house. He marks logical isolation points: at each fixture’s supply lines, before branch splits, and ahead of the water heater.
Ball valves are preferred for full flow and quick quarter-turn control. He orients handles for easy reach and labels hot and cold.
Before installation, he depressurises the system, cuts cleanly, deburrs, and uses appropriate connectors—solder, compression, or push-fit.
Valves are installed with arrows matching the flow. After tightening, he repressurises slowly, checks for leaks, cycles each valve, and documents locations for future reference.
Conclusion
A clear grasp of bathroom pipe fittings helps anyone plan reliable plumbing. By knowing common fitting types, matching materials and sizes to the job, and following best-practice installation steps, small projects become simpler and future leaks are less likely. When uncertain, checking codes and consulting a pro protects time and budget. With a few right tools, careful measurements, and quality parts, bathroom plumbing stays efficient, safe, and easy to maintain—supporting comfortable daily use and long-term home value.


")